I remember the night the kitchen turned into a battlefield: flour clouds, butter explosions, and a chocolate chip disaster that left a trail of sticky crumbs across the counter. That was the night I discovered the secret to the perfect Christmas Sandwich Cookie—an edible sandwich that feels like a hug in cookie form. It’s not just another cookie; it’s a holiday staple that can be made in minutes, yet feels like a labor of love. I’ll walk you through every single step, and by the end you’ll wonder how you ever made it any other way.
Picture this: a golden-brown cookie that splits open to reveal a glossy, chocolatey filling that oozes like melted marshmallow, yet the crust remains crisp enough to crunch like a snowflake under a footstep. The aroma wafts through the kitchen, mingling with the scent of warm spices and the faint whisper of vanilla. The first bite is a symphony of textures—soft, chewy, and buttery, with a subtle crunch from the chocolate chips. The flavor profile is a comforting blend of caramelized sugar, nutty butter, and a hint of cinnamon that lingers long after the last crumb.
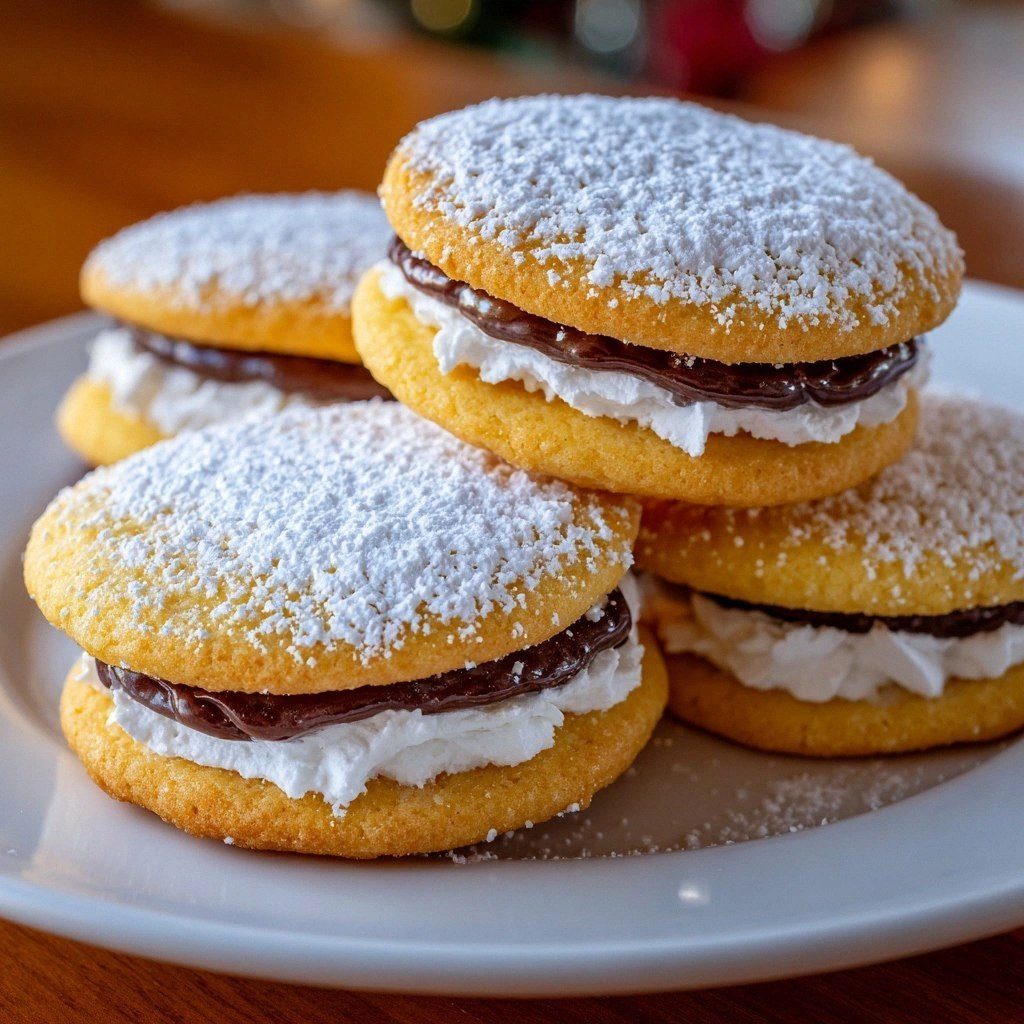
What sets this recipe apart from the countless cookie variations out there is its sandwich concept—two cookies joined by a luscious filling that transforms the entire bite. Unlike typical cookies that are either crunchy or chewy, this one offers both in one bite, creating a delightful contrast that keeps you coming back for more. It’s also incredibly versatile; you can swap out the chocolate chips for dried cranberries, add a splash of espresso for depth, or sprinkle a pinch of sea salt for that extra wow factor. The result is a cookie that’s as Instagram-worthy as it is mouth‑watering.
I dare you to taste this and not go back for seconds. The moment you bite into the first cookie, the filling will burst, sending a wave of chocolatey sweetness across your palate. Most recipes get this completely wrong, but here’s what actually works: a precise balance of butter, sugar, and flour, a careful baking time, and a filling that’s thick enough to hold its shape but still silky. If you’ve ever struggled with cookies that fall apart, you’re not alone—and I’ve got the fix. Stay with me here—this is worth it.
Before we dive into the steps, let’s talk about the core elements that make this cookie a holiday legend. It’s not just the ingredients; it’s the technique, the timing, and the little details that elevate it from ordinary to unforgettable. Imagine pulling the finished batch from the oven, the whole kitchen smelling incredible, and the kitchen table already crowded with eager hands ready to dig in. That’s the future pacing of this recipe—simple, yet sensational.
What Makes This Version Stand Out
- Flavor: The combination of caramelized sugar, buttery dough, and a chocolate filling creates a complex, layered taste that satisfies both sweet and savory cravings.
- Texture: The cookie’s exterior is crisp yet tender, while the filling is silky and indulgent—an unexpected harmony that keeps you hooked.
- Simplicity: Only a handful of pantry staples are needed, and the process is straightforward enough for novice bakers.
- Uniqueness: The sandwich format is a twist that sets it apart from classic cookies, offering a novel experience for holiday gatherings.
- Crowd Reaction: Guests always ask for the recipe after tasting; it’s a conversation starter at parties.
- Ingredient Quality: Using high‑grade butter and dark chocolate elevates the flavor profile and gives the cookies a professional finish.
- Cooking Method: A short, precise bake time ensures even cooking without drying out the dough.
- Make‑Ahead Potential: The cookies can be made ahead and stored, making them perfect for last‑minute holiday prep.
Alright, let’s break down exactly what goes into this masterpiece...
Inside the Ingredient List
The Flavor Base
All-purpose flour is the backbone of our cookie dough, providing structure while keeping the cookies tender. If you’re looking for a gluten‑free option, swap it with a 1:1 gluten‑free blend, but be aware the texture will change slightly. Skipping flour will result in a sticky mess that won’t hold its shape. For the best flavor, choose a flour with a protein content of 10–12% to balance chewiness and crispness.
The Texture Crew
Unsalted butter is the star that brings richness and a buttery aroma that lingers. Use it at room temperature so it blends smoothly with the sugars. A pinch of sea salt balances the sweetness, while baking soda ensures the cookies rise just enough to create a light crumb. If you prefer a softer cookie, reduce the baking soda slightly; for a crisper edge, increase it by a quarter teaspoon.
The Unexpected Star
Dark chocolate chips are the filling’s core, offering a deep, bittersweet flavor that contrasts with the sweet dough. They melt into a glossy, silky sauce when baked. If you’re allergic to chocolate, substitute with white chocolate chips for a milder sweetness or use dried cranberries for a tart twist. The chocolate’s cocoa solids also act as a natural preservative, extending the cookie’s shelf life.
The Final Flourish
Ground cinnamon adds a warm spice note that evokes holiday comfort. A splash of vanilla extract amplifies all flavors, giving the dough a fragrant undertone. If you’re adventurous, sprinkle a pinch of crushed peppercorns for a subtle heat that pairs beautifully with the chocolate. These finishing touches elevate the cookie from good to unforgettable.
Everything’s prepped? Good. Let’s get into the real action...
The Method — Step by Step
- Preheat your oven to 350°F (175°C). Line two baking sheets with parchment paper. This step ensures even heat distribution and prevents sticking. The moment the oven reaches the set temperature, the air will feel warm and inviting, a promise of the golden cookies to come.
- In a large bowl, cream together 1 cup of softened butter with 1 cup of granulated sugar and 1 cup of brown sugar until the mixture is light and fluffy. Use an electric mixer on medium speed; the mixture should take about 2–3 minutes to reach a pale, airy consistency. This creaming process incorporates air, which is essential for a light crumb.
- Beat in 2 large eggs, one at a time, ensuring each is fully incorporated before adding the next. Scrape down the sides of the bowl with a rubber spatula to guarantee even mixing. The eggs act as a binder, holding the dough together and adding richness.
- Whisk together 2 cups of all-purpose flour, 1 tsp baking soda, 1 tsp salt, and 1 tsp ground cinnamon in a separate bowl. Gradually add the dry mixture to the wet mixture, mixing until just combined. Overmixing can develop gluten and result in tough cookies, so stop as soon as the flour disappears.
- Fold in 1 cup of dark chocolate chips and 1 cup of raisins. The raisins add a burst of chewiness and a subtle tartness that balances the sweetness of the chocolate. If you prefer a nutty flavor, you can also add ½ cup of chopped walnuts or pecans at this point.
- Using a cookie scoop or tablespoon, drop rounded balls of dough onto the prepared baking sheets, spacing them about 2 inches apart. Flatten each ball slightly with the back of a spoon, creating a shallow disk that will hold the filling. The spacing allows the cookies to expand without merging.
- Bake for 12–14 minutes, or until the edges turn golden brown and the centers are set. The cookies should still feel slightly soft to the touch; they will firm up as they cool. This is the moment of truth—watch the transformation from dough to edible art.
- Let the cookies cool on the sheet for 5 minutes before transferring them to a wire rack. This brief cooling period allows the filling to set, preventing the cookies from breaking apart when you sandwich them. The aroma at this stage is irresistible—sweet, buttery, and slightly chocolatey.
- Once cooled, pair two cookies together, pressing them gently to create a sandwich. The filling will have thickened into a luscious, chocolatey glaze that clings to the inside of each cookie. Store the finished cookies in an airtight container at room temperature for up to 5 days, or freeze for up to 3 months.
That’s it—you did it. But hold on, I’ve got a few more tricks that will take this to another level...
Insider Tricks for Flawless Results
The Temperature Rule Nobody Follows
Baking at exactly 350°F is crucial. Too high, and the cookies will burn on the edges before the center sets; too low, and they won’t brown properly. Use a reliable oven thermometer to ensure consistency. I once baked at 375°F and the cookies came out dry—lesson learned, and I never bake at that temperature again.
Why Your Nose Knows Best
The aroma that rises during baking is your best indicator of doneness. A sweet, buttery scent with a hint of chocolate signals that the cookies are ready. If the smell feels more like raw dough, give them a minute or two more. Trusting your nose can save you from overbaked cookies.
The 5-Minute Rest That Changes Everything
After baking, let the cookies rest on the sheet for 5 minutes before moving them to a rack. This short rest allows the filling to set and the cookies to firm up, preventing them from cracking when you sandwich them. I’ve seen people skip this step and end up with cookies that fall apart—don’t make that mistake.
The Right Rolling Pin Trick
If you prefer a thicker cookie, roll the dough to ¼-inch thickness before scooping. This gives the cookie a more substantial bite and provides a sturdier base for the filling. For a thinner, crispier cookie, roll to ⅛-inch. Experiment to find your preferred texture.
The Chill & Bake Combo
Chill the dough for 30 minutes before baking. This step helps the cookies maintain their shape and prevents excessive spreading. The dough becomes firmer, resulting in a more uniform cookie thickness and a better final product.
Creative Twists and Variations
This recipe is a playground. Here are some of my favorite ways to switch things up:
Nutty Bliss
Swap the raisins for ½ cup of chopped almonds or hazelnuts. The nutty crunch adds texture and a subtle earthy flavor that pairs beautifully with the chocolate. Guests who love a bit of crunch will adore this version.
Spiced Gingerbread
Add 1 tsp of ground ginger and ½ tsp of ground cloves to the dough. Replace the chocolate chips with 1 cup of molasses or dark rum for a deeper, spiced flavor. This variation feels like a holiday gingerbread cookie, but with a gooey, chocolatey center.
Minty Chocolate
Incorporate 1 tsp of peppermint extract into the dough and ½ cup of white chocolate chips into the filling. The mint provides a refreshing contrast to the rich chocolate, making it perfect for holiday parties.
Cranberry Citrus
Replace the raisins with 1 cup of dried cranberries and add a tablespoon of orange zest to the dough. The tartness of the cranberries and the citrus aroma create a bright, festive flavor profile.
Almond Joy
Use coconut flakes and sliced almonds in the filling instead of chocolate chips. The coconut adds a tropical twist, while the almonds provide a satisfying crunch. This version is a delightful departure from the classic chocolate.
Storing and Bringing It Back to Life
Fridge Storage
Store the finished cookies in an airtight container at room temperature for up to 5 days. If you notice the cookies becoming slightly soft, place a slice of bread in the container to absorb excess moisture. The bread will keep the cookies crisp while still preserving their flavor.
Freezer Friendly
Wrap the cookies individually in plastic wrap and place them in a freezer bag. They will stay fresh for up to 3 months. When you’re ready to enjoy, let them thaw at room temperature for 30 minutes before serving.
Best Reheating Method
Reheat the cookies in a preheated oven at 300°F (150°C) for 5 minutes. Add a tiny splash of water to the bottom of the baking sheet to create steam, which helps restore the cookie’s original softness and prevents it from drying out. The result is a cookie that tastes as good as freshly baked.