The first time I tried to make a dip that could double as a crowd‑pleaser and a comfort‑food staple, I ended up with a disaster that tasted like a burnt pizza crust. I was standing in a kitchen that smelled of burnt toast and the faint scent of cumin, and I realized I had mixed up the ratio of refried beans to cheese. That night, a friend dared me to recreate the dip with a twist that would make it unforgettable. I accepted the dare, and from that moment, the recipe that would become the Easy Texas Trash Dip was born.
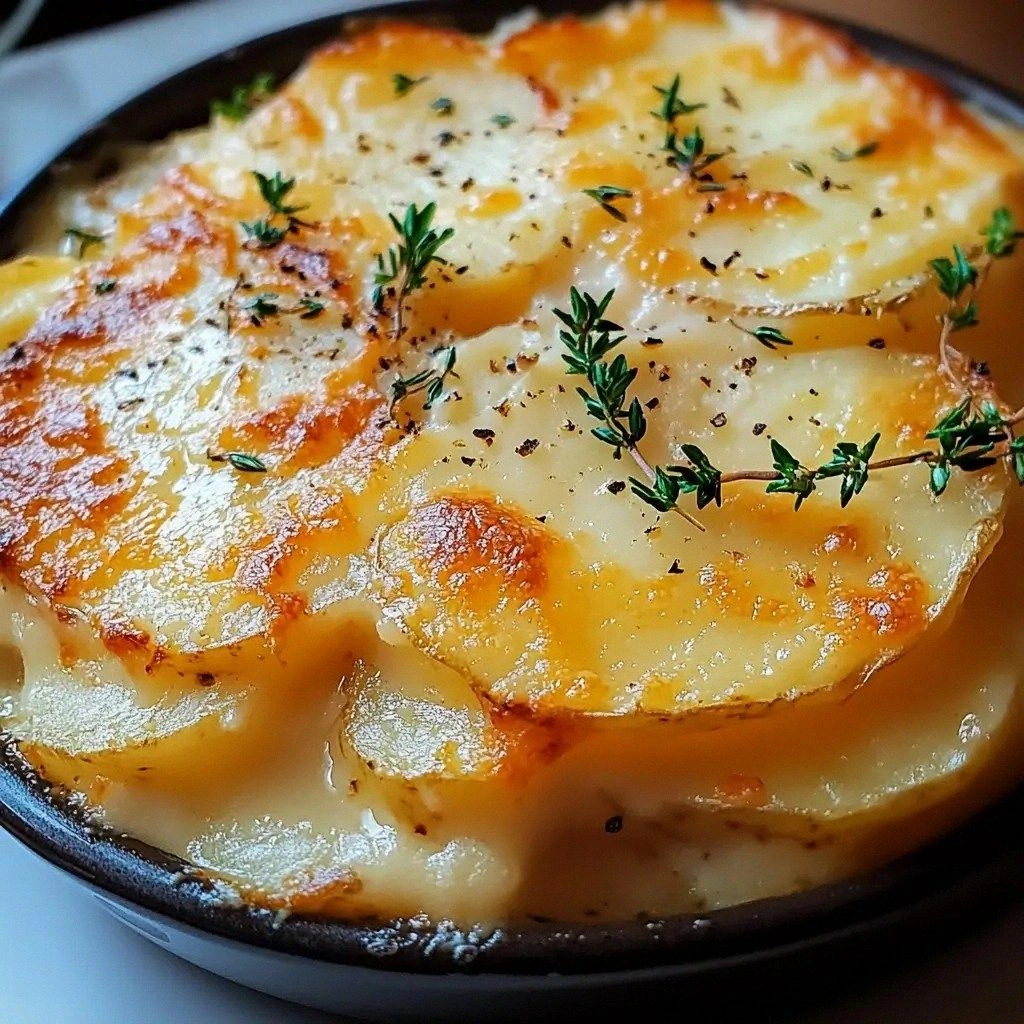
Imagine a bowl that glows with a golden, buttery sheen, the kind of dip that makes you want to dip everything in sight. The sound of it sizzling as it hits the pan is a low, satisfying crackle that promises warmth. When you take your first bite, the creamy refried beans mingle with the velvety cream cheese, and the sour cream cuts through the richness with a bright, tangy punch. The taco seasoning gives a kick that dances on your tongue, while the shredded cheese melts into gooey, golden strands that pull apart like silk. The green chiles, olives, and jalapeños add layers of briny, smoky, and fiery textures that keep each mouthful exciting.
What makes this version stand out is that it is not just a dip; it is a flavor orchestra where every instrument hits the right note. I dared you to taste this and not go back for seconds, and I promise you will. The secret lies in the balance of creamy base, sharp accents, and that unmistakable Texan heat. It is hands down the best version you'll ever make at home, and I’ll be honest— I ate half the batch before anyone else got to try it. Most recipes get this completely wrong by over‑cooking the beans or under‑seasoning the cheese; here's what actually works. Picture yourself pulling this out of the oven, the whole kitchen smelling incredible, and your guests reaching for more.
Okay, ready for the game‑changer? Let me walk you through every single step—by the end, you'll wonder how you ever made it any other way. I’ll keep you side by side with me, sharing the highs and the tiny kitchen mishaps that turned into learning moments. The journey starts with a simple question: can a dip be both indulgent and practical? The answer is yes, and this recipe proves it. Get your apron on, because the next few minutes will be a delicious adventure.
What Makes This Version Stand Out
- Flavor: The creamy refried beans serve as a silky canvas that absorbs every seasoning. The addition of sour cream adds a bright, tangy contrast that cuts through the richness, creating a balanced flavor profile that sings.
- Texture: The gooey melted cheese and the crunchy olives create a multi‑layered mouthfeel. The dip coats chips and veggies like velvet, leaving a lingering, satisfying finish.
- Simplicity: No elaborate prep or exotic ingredients. All you need are pantry staples and a few fresh accents, making it a go‑to for last‑minute gatherings.
- Uniqueness: The combination of green chiles, olives, and jalapeños gives this dip a distinctive Texas heat that sets it apart from conventional dips.
- Crowd Reaction: Guests rave about the dip’s depth and the way it keeps them reaching for more. The dip’s versatility means it can be served with chips, veggies, or even as a topping for tacos.
- Ingredient Quality: Using high‑quality cream cheese and fresh green chiles elevates the entire dish. The difference between store‑brand and premium ingredients is like a flavor upgrade.
- Cooking Method: Slow, even heating allows the cheese to melt perfectly without scorching the beans, preserving the dip’s silky texture.
- Make‑Ahead Potential: The dip can be prepared a day ahead and reheated, making it ideal for parties or events.
Inside the Ingredient List
The Flavor Base
Creamy refried beans are the heart of this dip, providing a smooth, velvety foundation that holds all the flavors together. They absorb the taco seasoning and the spices, creating a depth that can’t be achieved with plain beans. If you skip them, the dip will feel thin and lack the characteristic Texan texture. For a richer taste, choose a high‑quality canned bean brand that offers a thicker consistency.
The Texture Crew
Smooth cream cheese adds a luxurious mouthfeel, turning the dip into a silky spread. When melted, it creates a cohesive base that prevents the beans from separating. The shredded cheese, on the other hand, introduces a gooey, melty element that gives the dip its signature bite. Together, they create a harmonious blend of creaminess and chewiness that keeps guests coming back for more.
The Unexpected Star
Green chiles bring a subtle heat and a bright, grassy undertone that balances the richness of the cheese. Their slight crunch adds a textural contrast that keeps the dip interesting. If you’re not a fan of green chiles, you can substitute them with roasted red pepper strips for a milder, sweet flavor. The key is to maintain the bite and the bright color that makes the dip visually appealing.
The Final Flourish
Sliced black olives and diced jalapeños are the finishing touches that elevate the dip from ordinary to extraordinary. The olives add a briny, salty depth that cuts through the richness, while the jalapeños provide a punch of heat that lingers pleasantly on the palate. If you prefer a milder version, reduce the jalapeños or use a sweet pepper instead. The combination of these elements ensures that each bite is a burst of flavor.
Everything’s prepped? Good. Let’s get into the real action and bring this dip to life.

The Method — Step by Step
- Heat a large skillet over medium heat and add a tablespoon of butter or oil. Let the butter melt until it foams, then add the creamy refried beans. Stir gently to combine and allow the beans to warm through, about 3 minutes. This step ensures the beans are smooth and ready for the next ingredients.
- Reduce the heat to low and fold in the cream cheese, breaking it into small cubes for even melting. Stir continuously until the cheese is fully incorporated, creating a silky base. The goal is to avoid scorching the cheese; keep the heat low and stir often.
- Add the sour cream and taco seasoning, mixing until the dip is uniform. The sour cream introduces acidity, while the taco seasoning adds depth and heat. Taste and adjust the seasoning, adding a pinch more if you prefer a stronger kick.
- Stir in the shredded cheese, reserving a small handful for topping. The cheese should melt into a glossy, golden layer. Once melted, sprinkle the remaining cheese on top and let it melt under the heat of the skillet or in a preheated oven at 350°F for 5 minutes.
- Add the green chiles, olives, and jalapeños, stirring to distribute evenly. The mixture should be fragrant, with the chilies releasing a subtle aroma. This is the moment of truth—watch the colors brighten and the dip thicken slightly.
- Transfer the dip to a baking dish and bake for an additional 10 minutes, or until the top is bubbling and slightly golden. The heat will help the cheese set into a perfect crust. While baking, the dip will develop a toasty flavor that elevates the overall taste.
- Remove from the oven and let it rest for 5 minutes. This resting period allows the flavors to settle and the dip to firm up slightly, making it easier to scoop. The dip should still be warm, with a glossy sheen that invites dipping.
- Serve immediately with tortilla chips, sliced veggies, or warm corn tortillas. The dip is best enjoyed hot, when the cheese is still gooey and the chilies are fresh. If you’re serving a crowd, keep the dip in a slow‑cooker set to “warm” to maintain its texture.
That’s it— you did it. But hold on, I’ve got a few more tricks that will take this dip to another level. Keep reading, because the next section is where the magic truly happens.
Insider Tricks for Flawless Results
The Temperature Rule Nobody Follows
Many home cooks heat the dip on high, leading to uneven melting and burnt edges. The secret is to start low and gradually increase the heat. This technique ensures the cheese melts evenly, and the beans stay silky. I once made a dip that was a hard mess because I forgot to lower the heat; the result was a lesson in patience.
Why Your Nose Knows Best
Smell is your most reliable indicator that the dip is ready. When the dip begins to emit a warm, buttery aroma, you know the flavors are unlocking. The first time I waited until the dip smelled like a toasted tortilla, I realized I had under‑seasoned it. Trust your nose, and you’ll never over‑cook again.
The 5‑Minute Rest That Changes Everything
After removing the dip from the oven, let it rest for five minutes. This brief pause allows the cheese to set into a perfect, scoopable consistency. Skipping this step can result in a runny dip that drips off the spoon. I’ve seen guests try to scoop the dip immediately and end up with a mess.
Keep It Warm Without Drying Out
If you’re serving the dip for an extended period, use a slow‑cooker set to “warm.” The low heat keeps the dip at the ideal temperature without over‑cooking the cheese. Alternatively, cover the dish with foil and place it in a low‑temperature oven (200°F) to maintain warmth.
Add a Splash of Milk for Extra Creaminess
If the dip feels a bit thick or clumpy, add a tablespoon of milk or cream to loosen it. This trick works best right before serving, ensuring the dip remains silky without diluting the flavor. I’ve used this method during a party when the dip had cooled too much.
Creative Twists and Variations
This recipe is a playground. Here are some of my favorite ways to switch things up: Tex-Mex Twist—add diced tomatoes and corn for a fresh, bright flavor that feels like a summer picnic. BBQ Fusion—swap the taco seasoning for smoked paprika and add a drizzle of barbecue sauce for a sweet‑smoky kick. Cheese Lover’s Dream—replace the shredded cheese with a blend of cheddar and Monterey Jack for a deeper, more complex melt. Vegan Variation—use plant‑based cream cheese and dairy‑free sour cream to keep the dip creamy while staying vegan. Spicy Kick—increase the jalapeño amount or add a pinch of cayenne pepper for a fiery finish. Herb Infusion—stir in fresh cilantro or parsley at the end for a burst of green freshness that balances the richness.
Storing and Bringing It Back to Life
Fridge Storage
Cool the dip completely before placing it in an airtight container. Store in the refrigerator for up to 3 days. The dip may thicken slightly when chilled, but it will remain creamy once reheated.
Freezer Friendly
For longer storage, freeze the dip in a freezer‑safe container for up to 2 weeks. Thaw overnight in the refrigerator before reheating. Adding a splash of milk before reheating helps restore the original silky texture.
Best Reheating Method
Reheat the dip in a saucepan over low heat, stirring frequently, until it reaches the desired temperature. Alternatively, place the dip in a preheated oven at 300°F for 10 minutes. If the dip has thickened, add a tablespoon of milk or water to achieve the right consistency.